DIY Sous Vide Setup: How to Get Started Without Breaking the Bank
Ready to sous vide without splurging? Use a CrockPot or rice cooker. Go for tools like vacuum sealers and common kitchen gear, skip pricey gadgets. Fill a pot, add seasoned food in a sealed bag, dunk it in. Monitor temp, insulate, and follow recommended timings. Seal baggies tight for flavor-packed results. Save cash, enjoy delicious meals. Keep exploring for more sous vide secrets.
What You Will Learn Here
- Consider using a CrockPot or rice cooker for cost-effective sous vide setup.
- Start with basic tools like a vacuum sealer and common cooking equipment.
- Utilize the water displacement method for sealing without a vacuum sealer.
- Insulate your cooking vessel for heat retention and efficiency.
- Focus on creativity and enjoyment rather than expensive gadgets.
Understanding Sous Vide Cooking Basics
If you're new to sous vide cooking, understanding the basics is crucial for successful results. Sous vide, a fancy term for cooking food in a water bath at precise temperatures, might sound like something only a Michelin-star chef would attempt. But fear not, with a bit of know-how, you can DIY sous vide like a pro using simple tools you probably already have in your kitchen.
The magic of sous vide lies in its ability to maintain all those delicious juices, intensify flavors, and guarantee your food comes out perfectly tender every time. All you need is a trusty digital thermometer to keep an eye on the water temperature and some plastic freezer bags to seal in the goodness.
Think of sous vide as your new cooking superpower – no more overcooked steaks or dry chicken breasts. Just pop your ingredients into a bag, let them hang out in a warm water bath, and prepare to be amazed by the results. It's like a spa day for your food!

Selecting the Right Equipment and Tools
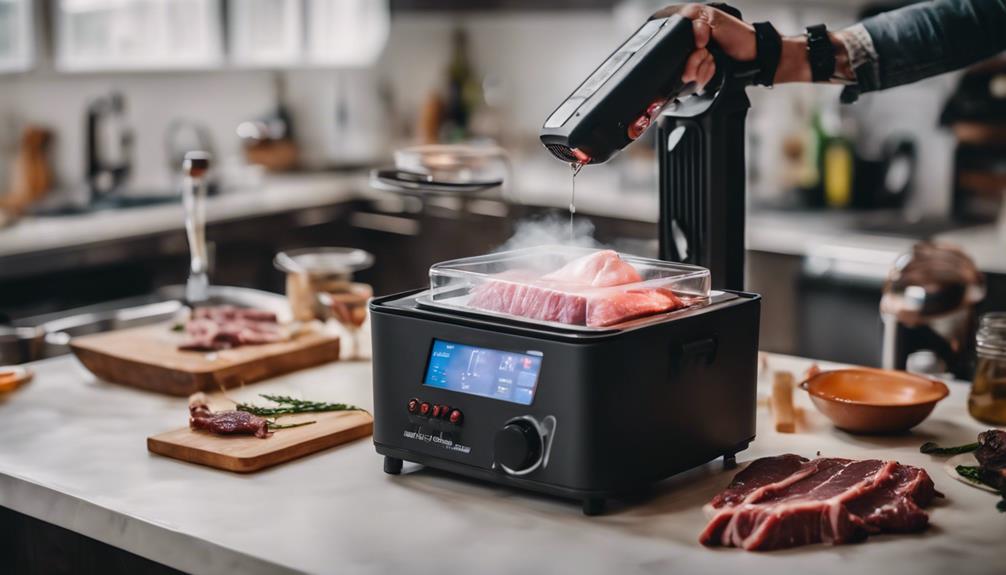
Consider utilizing a basic CrockPot or rice cooker as a cost-effective sous vide setup. These kitchen essentials can double up as your DIY sous vide vessel without burning a hole in your pocket.
For more precise temperature control, you might want to look into adding a Fresh Meals Magic circulator or the Sous Vide Magic controller to your setup. These nifty tools will help you achieve that perfect sous vide cook every time without splurging on fancy, overpriced gadgets like the Sous Vide Supreme.
Starting with simple tools like a vacuum sealer and basic cooking equipment is key to kickstarting your DIY sous vide journey. Remember, it's all about getting creative and having fun while cooking up a storm in your own kitchen.
Setting Up the Water Bath
To set up the water bath for your DIY sous vide cooking, fill a large cooking pot with water, leaving some space at the top for circulation. This space is essential for proper water circulation, ensuring that your food cooks evenly at the specific temperature you desire.
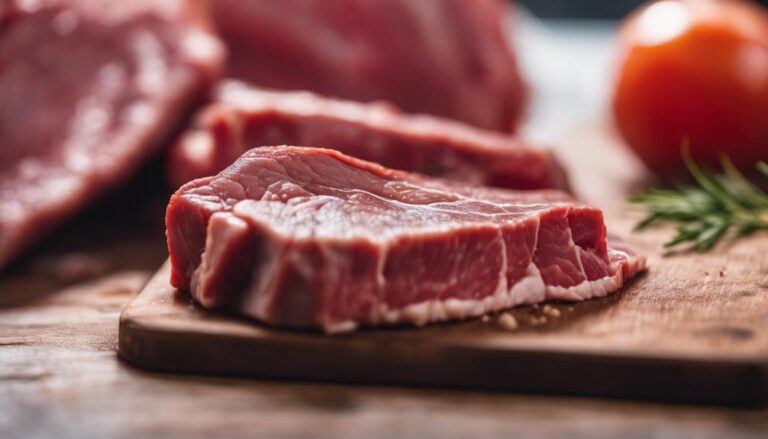
Now, it's time to introduce your ingredients to the sous vide party. Grab a sturdy freezer bag, toss in your food, along with some oil, butter, and herbs to enhance the flavor. Don't forget to vacuum seal the bag to lock in all that goodness.
Next, gently place your bag in the water bath, making sure it's fully submerged. Think of it as giving your food a cozy warm bath – a spa day for your ingredients! As your heating element gets to work, you can sit back and relax, knowing that your sous vide setup is on its way to culinary perfection.
Ensuring Proper Temperature Control
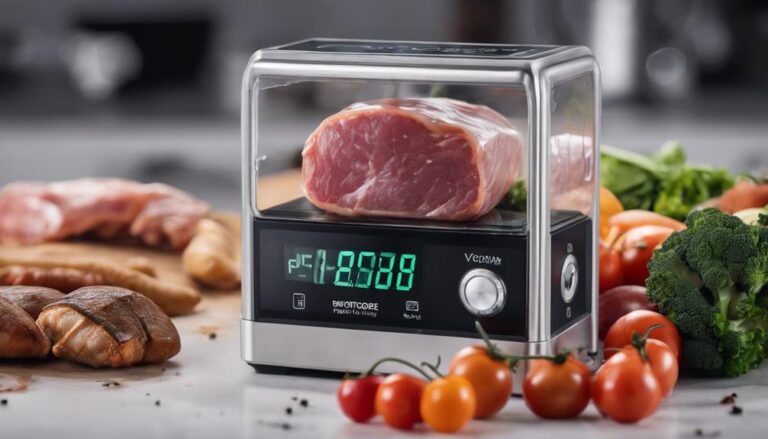
Maintain precise water temperature by using a digital thermometer in your DIY sous vide setup. This nifty gadget will help you keep track of the water temperature to make certain your food cooks perfectly.
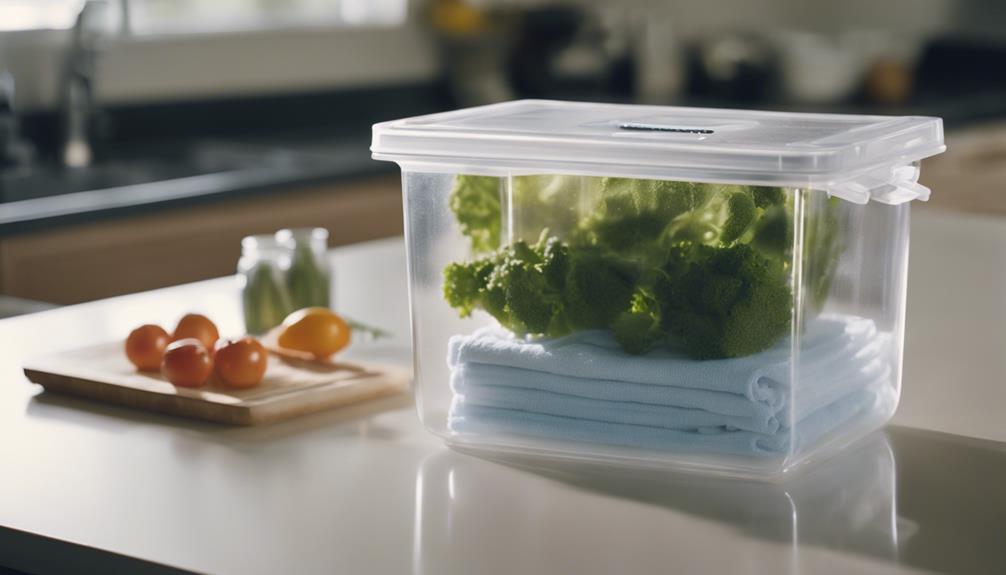
If you want to take it a step further, consider insulating your cooking vessel. This insulation can prevent heat loss and maintain those consistent temperatures that make sous vide cooking so delightful.
For those who like a bit of tech in their kitchen, utilizing a sous vide calculator or guide can be a game-changer. It gives you recommended cooking times and temperatures, making your culinary adventures even more foolproof.
Feeling fancy? Why not try implementing a PID controller for some advanced temperature control in your DIY setup? It might sound like rocket science, but it's just a way to keep your water at the perfect temperature without any fuss.
Packaging Food for Sous Vide Cooking
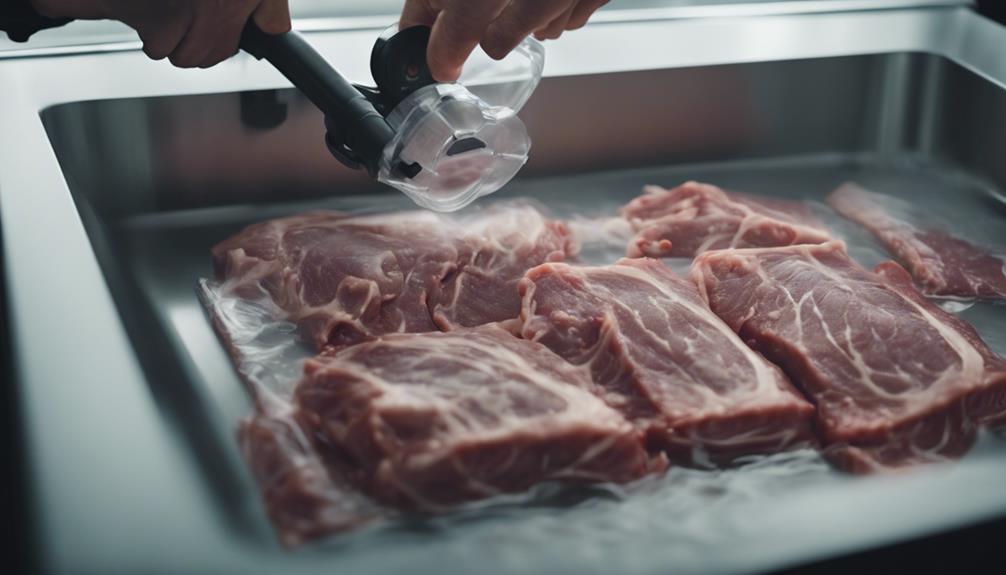
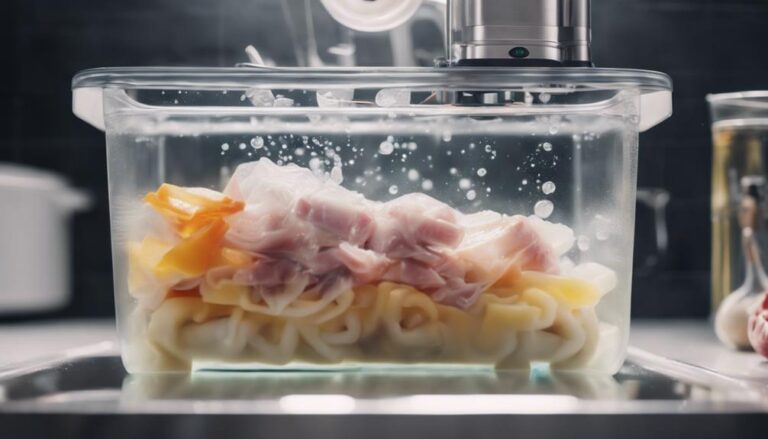
To prepare your food properly for sous vide cooking, make sure you utilize the preferred method of vacuum sealing for packaging. Vacuum sealing helps maintain the integrity of your ingredients while they cook in a water bath, keeping flavors locked in and ensuring even cooking.
If you don't have a vacuum sealer handy, fear not! You can opt for the water displacement method, which involves sealing your food in a plastic bag while slowly submerging it in water to push out the air before sealing it shut. This DIY approach works surprisingly well and is a great alternative if you're trying to sous vide on a budget.
Timing and Monitoring the Cooking Process
How can you guarantee precise cooking results when utilizing sous vide techniques?
Well, it's all about nailing the timing and monitoring like a pro.
Grab yourself a trusty digital thermometer to keep a close eye on that water temperature – no room for lukewarm guesses here!
Set those timers like you're in a race against the clock (or should we say, the perfect doneness).
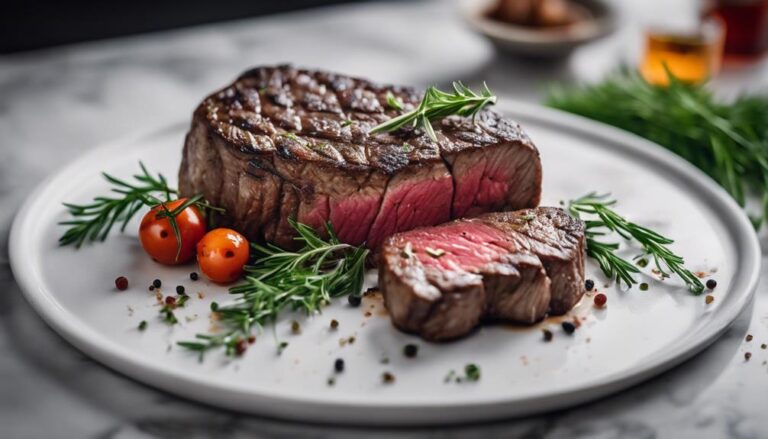
Whether you like your steak rare, medium, or well-done, following a time and temperature guide is your recipe for success in the sous vide world.
Searing Techniques for Flavorful Results
Enhance the flavor profile of your sous vide creations by mastering the art of searing with precision and finesse. Searing isn't just about achieving a nice crust; it's about revealing those mouthwatering flavors through the Maillard reaction. This chemical reaction is like a flavor bomb going off in your food, making it taste oh so good! To help you level up your searing game, here are some techniques to guarantee your sous vide dishes are bursting with deliciousness:
| Searing Techniques | Description |
|---|---|
| Pre-Sous Vide Searing | Adds caramelized flavors and enhances overall taste of the dish |
| Post-Sous Vide Searing | Creates a crispy exterior while keeping the interior juicy |
| Maillard Reaction | Enhances aroma and depth of flavor in your sous vide-cooked meals |
Budget-Friendly Tips and Tricks
Mastering sous vide on a budget starts with exploring cost-effective DIY setups and clever kitchen hacks. You don't need fancy, expensive equipment to enjoy the benefits of sous vide cooking. Consider using a basic CrockPot or rice cooker as your affordable sous vide setup. For a budget-friendly option, check out the Fresh Meals Magic circulator or the Sous Vide Magic controller to create your own DIY sous vide system without breaking the bank.
When it comes to torches for finishing touches like creme brûlée, opt for smaller ones that are kinder to your wallet. DIY sous vide setups can be surprisingly economical compared to buying pre-made machines like the Sous Vide Supreme. Plus, there's a sense of satisfaction that comes with crafting your own cooking setup.
Frequently Asked Questions
What Is the First Thing I Should Sous Vide?
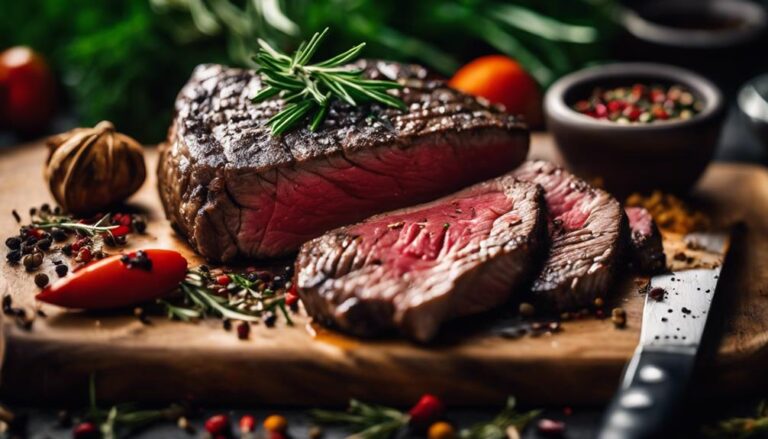
Start simple with a steak or chicken breast for your first sous vide adventure. These forgiving proteins are perfect beginner choices. Experiment with seasonings to elevate flavors. Nail cooking times and temps for that perfect doneness. Enjoy juicy results and gain confidence for more recipes.
How Do You Sous Vide Without a Vacuum Sealer?
To sous vide without a vacuum sealer, place food in a ziplock bag. Use water displacement to remove air, creating a vacuum seal. For reusable options, try silicone bags. Hand seal and immerse slowly to push out air bubbles.
Do You Start Sous Vide With Hot or Cold Water?
Start sous vide with hot water for quicker preheating. Achieve temperature control with a sous vide machine. Guarantee water circulation and use an insulated container. Maintain food safety by preheating water to the target temperature for consistent cooking times.
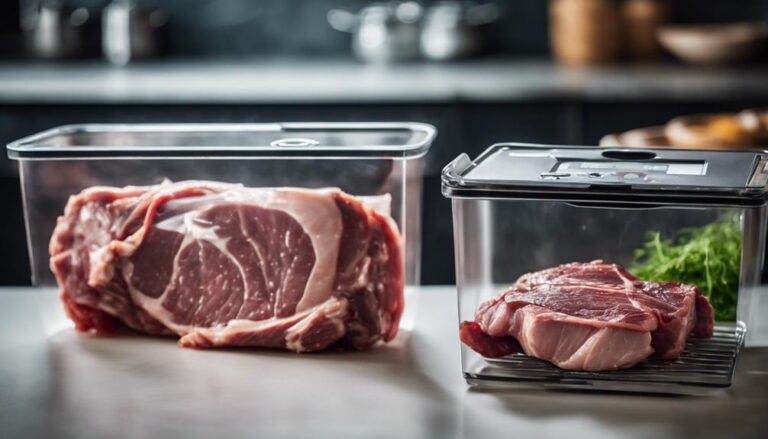
Does Meat Need to Be Vacuum-Sealed for Sous Vide?
You don't have to vacuum-seal meat for sous vide, but it's recommended for best results. Sous vide bags help with guaranteeing cooking precision and keep flavors intact. Immersion circulators guarantee precise cooking. Consider food safety, sealing alternatives, and seasoning techniques.
Conclusion
And there you have it, folks! With a little creativity and resourcefulness, you can immerse yourself in the world of sous vide cooking without breaking the bank.
Remember, it's all about patience, precision, and a touch of culinary magic. So grab your DIY setup, experiment with different recipes, and impress your friends and family with perfectly cooked meals that will have them asking for seconds.
Happy cooking!